Ensuring the proper functioning of your ice maker’s water lines is crucial for uninterrupted ice production. At Expert Viking Appliance Repair, we offer prompt and certified appliance repair in Bellingham, WA we provide certified repair services to keep your Viking appliances in top condition.
Inspect and Clean Ice Maker Water Lines
Regular inspection and cleaning of your ice maker’s water lines are essential to prevent clogs, leaks, and other issues that can disrupt ice production. Follow these steps to maintain the efficiency of your ice maker:
-
Gather the Necessary Supplies
Before starting the inspection and cleaning process, gather the following supplies:
- Distilled white vinegar
- Warm water
- Soft cloth or sponge
- Old toothbrush
- Towel or rag
- Pipe cleaner or flexible brush (optional)
-
Turn Off the Ice Maker
To safely inspect and clean the water lines, it’s essential to turn off the ice maker and disconnect it from the power source. This will prevent any accidents or injuries during the cleaning process.
-
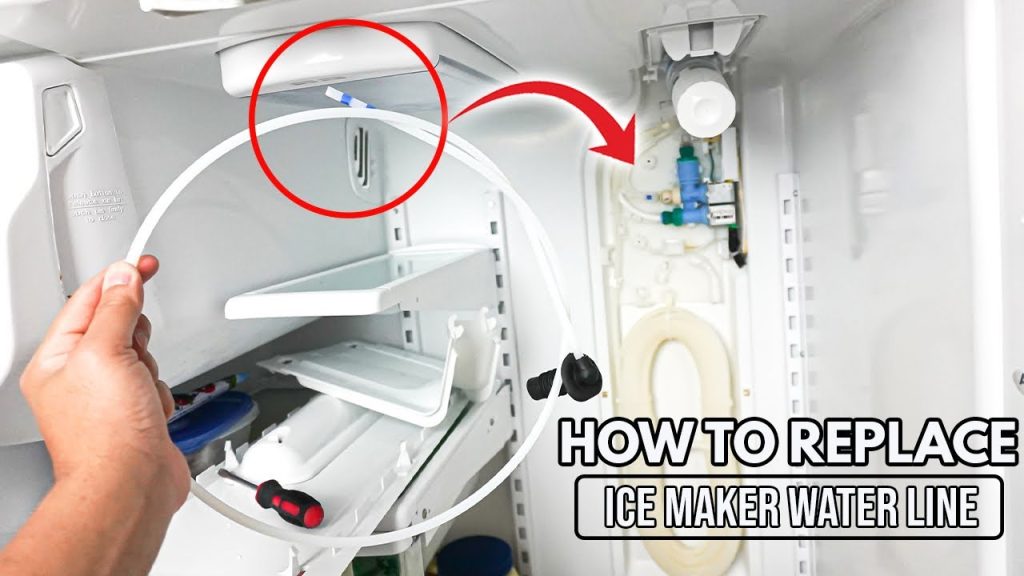
Locate the Water Lines
Depending on the model of your Viking ice maker, the water lines may be located at the back or bottom of the appliance. Carefully remove any panels or covers to access the water lines.
-
Inspect for Debris and Buildup
Using a flashlight, visually inspect the water lines for any signs of debris, mineral buildup, or mold growth. Pay close attention to areas where the water lines connect to the ice maker and water supply.
-
Clean the Water Lines
Prepare a cleaning solution by mixing equal parts distilled white vinegar and warm water in a bowl or container. Dip a soft cloth or sponge into the solution and gently wipe the exterior of the water lines to remove any visible buildup.
-
Remove Stubborn Deposits
For stubborn deposits or buildup, use an old toothbrush or pipe cleaner to scrub the interior of the water lines. Be gentle to avoid damaging the lines, but thorough enough to dislodge any debris.
-
Rinse and Dry Thoroughly
After cleaning, rinse the water lines with clean water to remove any remaining vinegar solution or loosened debris. Use a towel or rag to dry the lines thoroughly before reconnecting them to the ice maker.
-
Reassemble and Test
Once the water lines are clean and dry, reassemble any panels or covers that were removed earlier. Plug in the ice maker and turn it back on. Allow the ice maker to run through a cycle to ensure that the water lines are functioning properly.
-
Schedule Regular Maintenance
To maintain the efficiency of your ice maker’s water lines, incorporate regular inspections and cleanings into your appliance maintenance routine. Aim to clean the water lines at least once every six months or as needed, depending on usage and water quality.
-
Get Professional Assistance
If you encounter any issues or difficulties with inspecting and cleaning your ice maker’s water lines, don’t hesitate to seek professional assistance. Our certified technicians at Expert Viking Appliance Repair are here to help with any maintenance or repair needs.
FAQs
- Q: How often should I clean my ice maker’s water lines?
Regular cleaning is recommended every six months to prevent buildup and ensure optimal performance.
- Q: Can I use other cleaning solutions besides vinegar and water?
Vinegar and water are effective and safe for cleaning ice maker water lines. Avoid using harsh chemicals that could damage the lines.
- Q: What should I do if I notice a leak in my ice maker’s water lines?
If you notice a leak, immediately turn off the ice maker and contact a professional technician for repair assistance. Leakage could indicate a more significant issue that requires attention.
Ensure your Viking ice maker operates smoothly with expert maintenance from Expert Viking Appliance Repair in Bellingham, WA. Schedule a service today for reliable repairs and peace of mind.